
How to Connect and Program a PWM Solar Charge Controller
2025-12-17
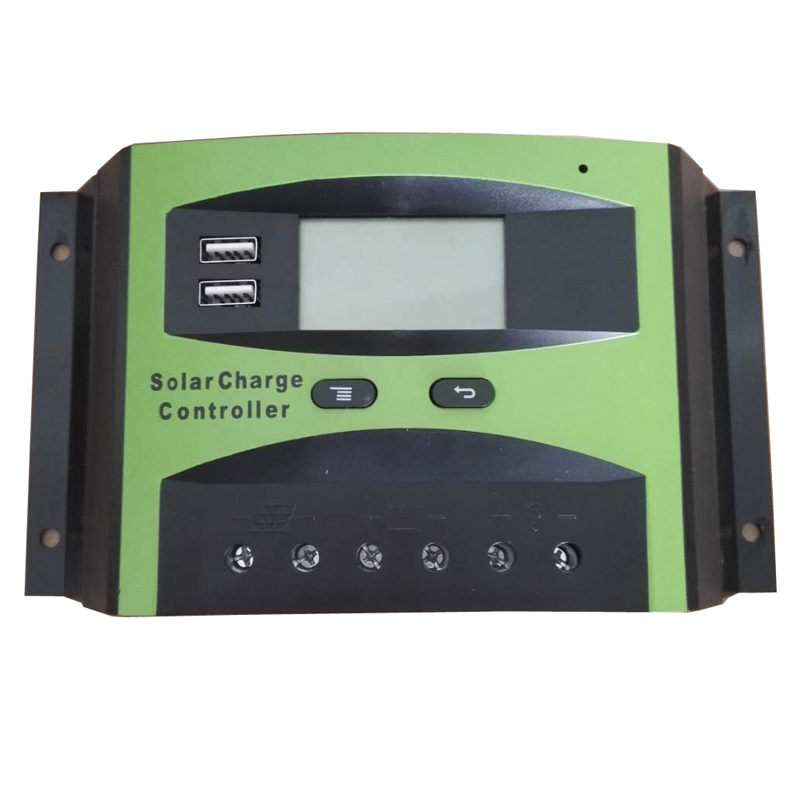
Installing a PWM Solar Controller is a fundamental step in setting up a reliable off-grid or backup solar power system. While it's simpler than its MPPT counterpart, correct installation and programming are crucial for safety, efficiency, and battery longevity. This guide will walk you through the process, highlighting why the Kosun KW Series is a top-tier choice for robust and straightforward energy management.
Step-by-Step Connection Guide
Safety First: Always connect the battery to the controller first and disconnect it last. Ensure all connections are secure and the correct polarity is observed.
-
Mount the Controller: Install your Kosun controller in a cool, dry, and well-ventilated location, away from direct sunlight or water.
-
Connect the Battery: Using appropriately sized cables, connect the battery terminals to the Kosun controller's designated battery (+ and -) ports. The controller should power on.
-
Connect the Solar Panel(s): Connect the solar panel array wires to the controller's solar input (+ and -) terminals. It is best to do this when sunlight is minimal.
-
Connect the Load (Optional): If your Kosun model has a load output, you can connect DC appliances (e.g., lights) to these terminals for direct, managed power.
Programming Your Kosun PWM Controller
Modern PWM Solar Controller units like the Kosun KW Series feature user-friendly programming to match your specific battery type. This protects your investment and optimizes performance.
-
Access Menu: Press and hold the menu button on the Kosun controller's interface.
-
Select Battery Type: Navigate to the battery type setting. The Kosun KW Series typically supports:
-
Sealed/AGM
-
Gel
-
Flooded/Lead-Acid
-
User-Defined (for custom parameters)
-
-
Confirm Setting: Select the option that matches your installed battery and confirm. The controller will now use the correct charging algorithm.
Key Parameters of the Kosun KW Series PWM Controller
| Feature | Specification | Benefit |
|---|---|---|
| Rated System Voltage | 12V/24V Auto-Sensing | Simplifies setup, compatible with common systems. |
| Max Solar Input Current | 20A / 30A / 40A models | Allows connection of various panel arrays. |
| Battery Type Support | Sealed, Gel, Flooded, User | Versatile charging for all major lead-acid types. |
| Protections | Reverse Polarity, Overload, Short-Circuit | Comprehensive safety for all system components. |
PWM Solar Controller FAQ
Q: Can I connect more solar panels than the controller's rated current?
A: No, you must not exceed the controller's maximum solar input current (e.g., 30A for the Kosun KW-30). The solar panel array's short-circuit current (Isc) should be less than the controller's rating. Exceeding it can cause permanent damage.
Q: Why is my PWM controller not delivering full power from my panels?
A: This is normal operation for a PWM Solar Controller. It works by pulling the panel voltage down to near the battery voltage. Power loss is inherent in this process, especially when battery voltage is low. An MPPT controller is more efficient for larger systems or when panel voltage is significantly higher than battery voltage.
Q: How do I know if my Kosun controller is charging properly?
A: The Kosun KW Series features a clear LCD/LED display. Monitor the icons and readings: a battery icon with a "bulk" or "float" indication, along with real-time amperage (A) flowing into the battery, confirms active charging.
Properly connecting and programming your PWM Solar Controller is the key to a worry-free solar experience. The intuitive design and robust protections of the Kosun KW Series make this process straightforward, ensuring your batteries are charged safely and efficiently for years to come. For personalized system advice or to explore the full Kosun product range, contact our expert team today. Let us help you power your independence.