
Custom Vibration Motors: A Practical Guide to Specifications and Applications
2026-10-27
Tuning a product's vibration feel often starts with a spec sheet—and ends with trial and error. Off-the-shelf motors may match a voltage and a size, but amplitude, frequency, and mounting constraints rarely line up all at once. That’s where custom vibration motors earn their place. This guide breaks down the key specifications and application choices you’ll face, from eccentric rotating mass to linear resonant actuators. Along the way, you’ll see how Guangling helps teams move from a rough requirement to a motor that fits the build and the budget. Ready to stop guessing and start specifying?
Decoding the Spec Sheet: What Actually Matters for Your Project
Most spec sheets bury the few numbers you actually need under a pile of marketing checkboxes. Instead of chasing the highest clock speed or the biggest memory figure, start by asking what your project will physically tolerate. A part that runs hot but fits your budget can derail a compact enclosure faster than a slightly slower alternative. Look for thermal design power, minimum operating voltage, and mechanical dimensions first—those constraints usually eliminate more candidates than raw performance ever will.
Then shift your attention to lifecycle details that rarely show up in bold text. Check whether the component is marked "not recommended for new designs" or has a known short supply window. A spec sheet won't tell you the lead time doubled last quarter, but it will hint at maturity through revision history and package options. Finally, ignore any feature you can't explain in one sentence. If the datasheet spends three pages on an interface your firmware team will never enable, that complexity is a cost, not a benefit.
Matching Vibration Patterns to Real-World Use Cases
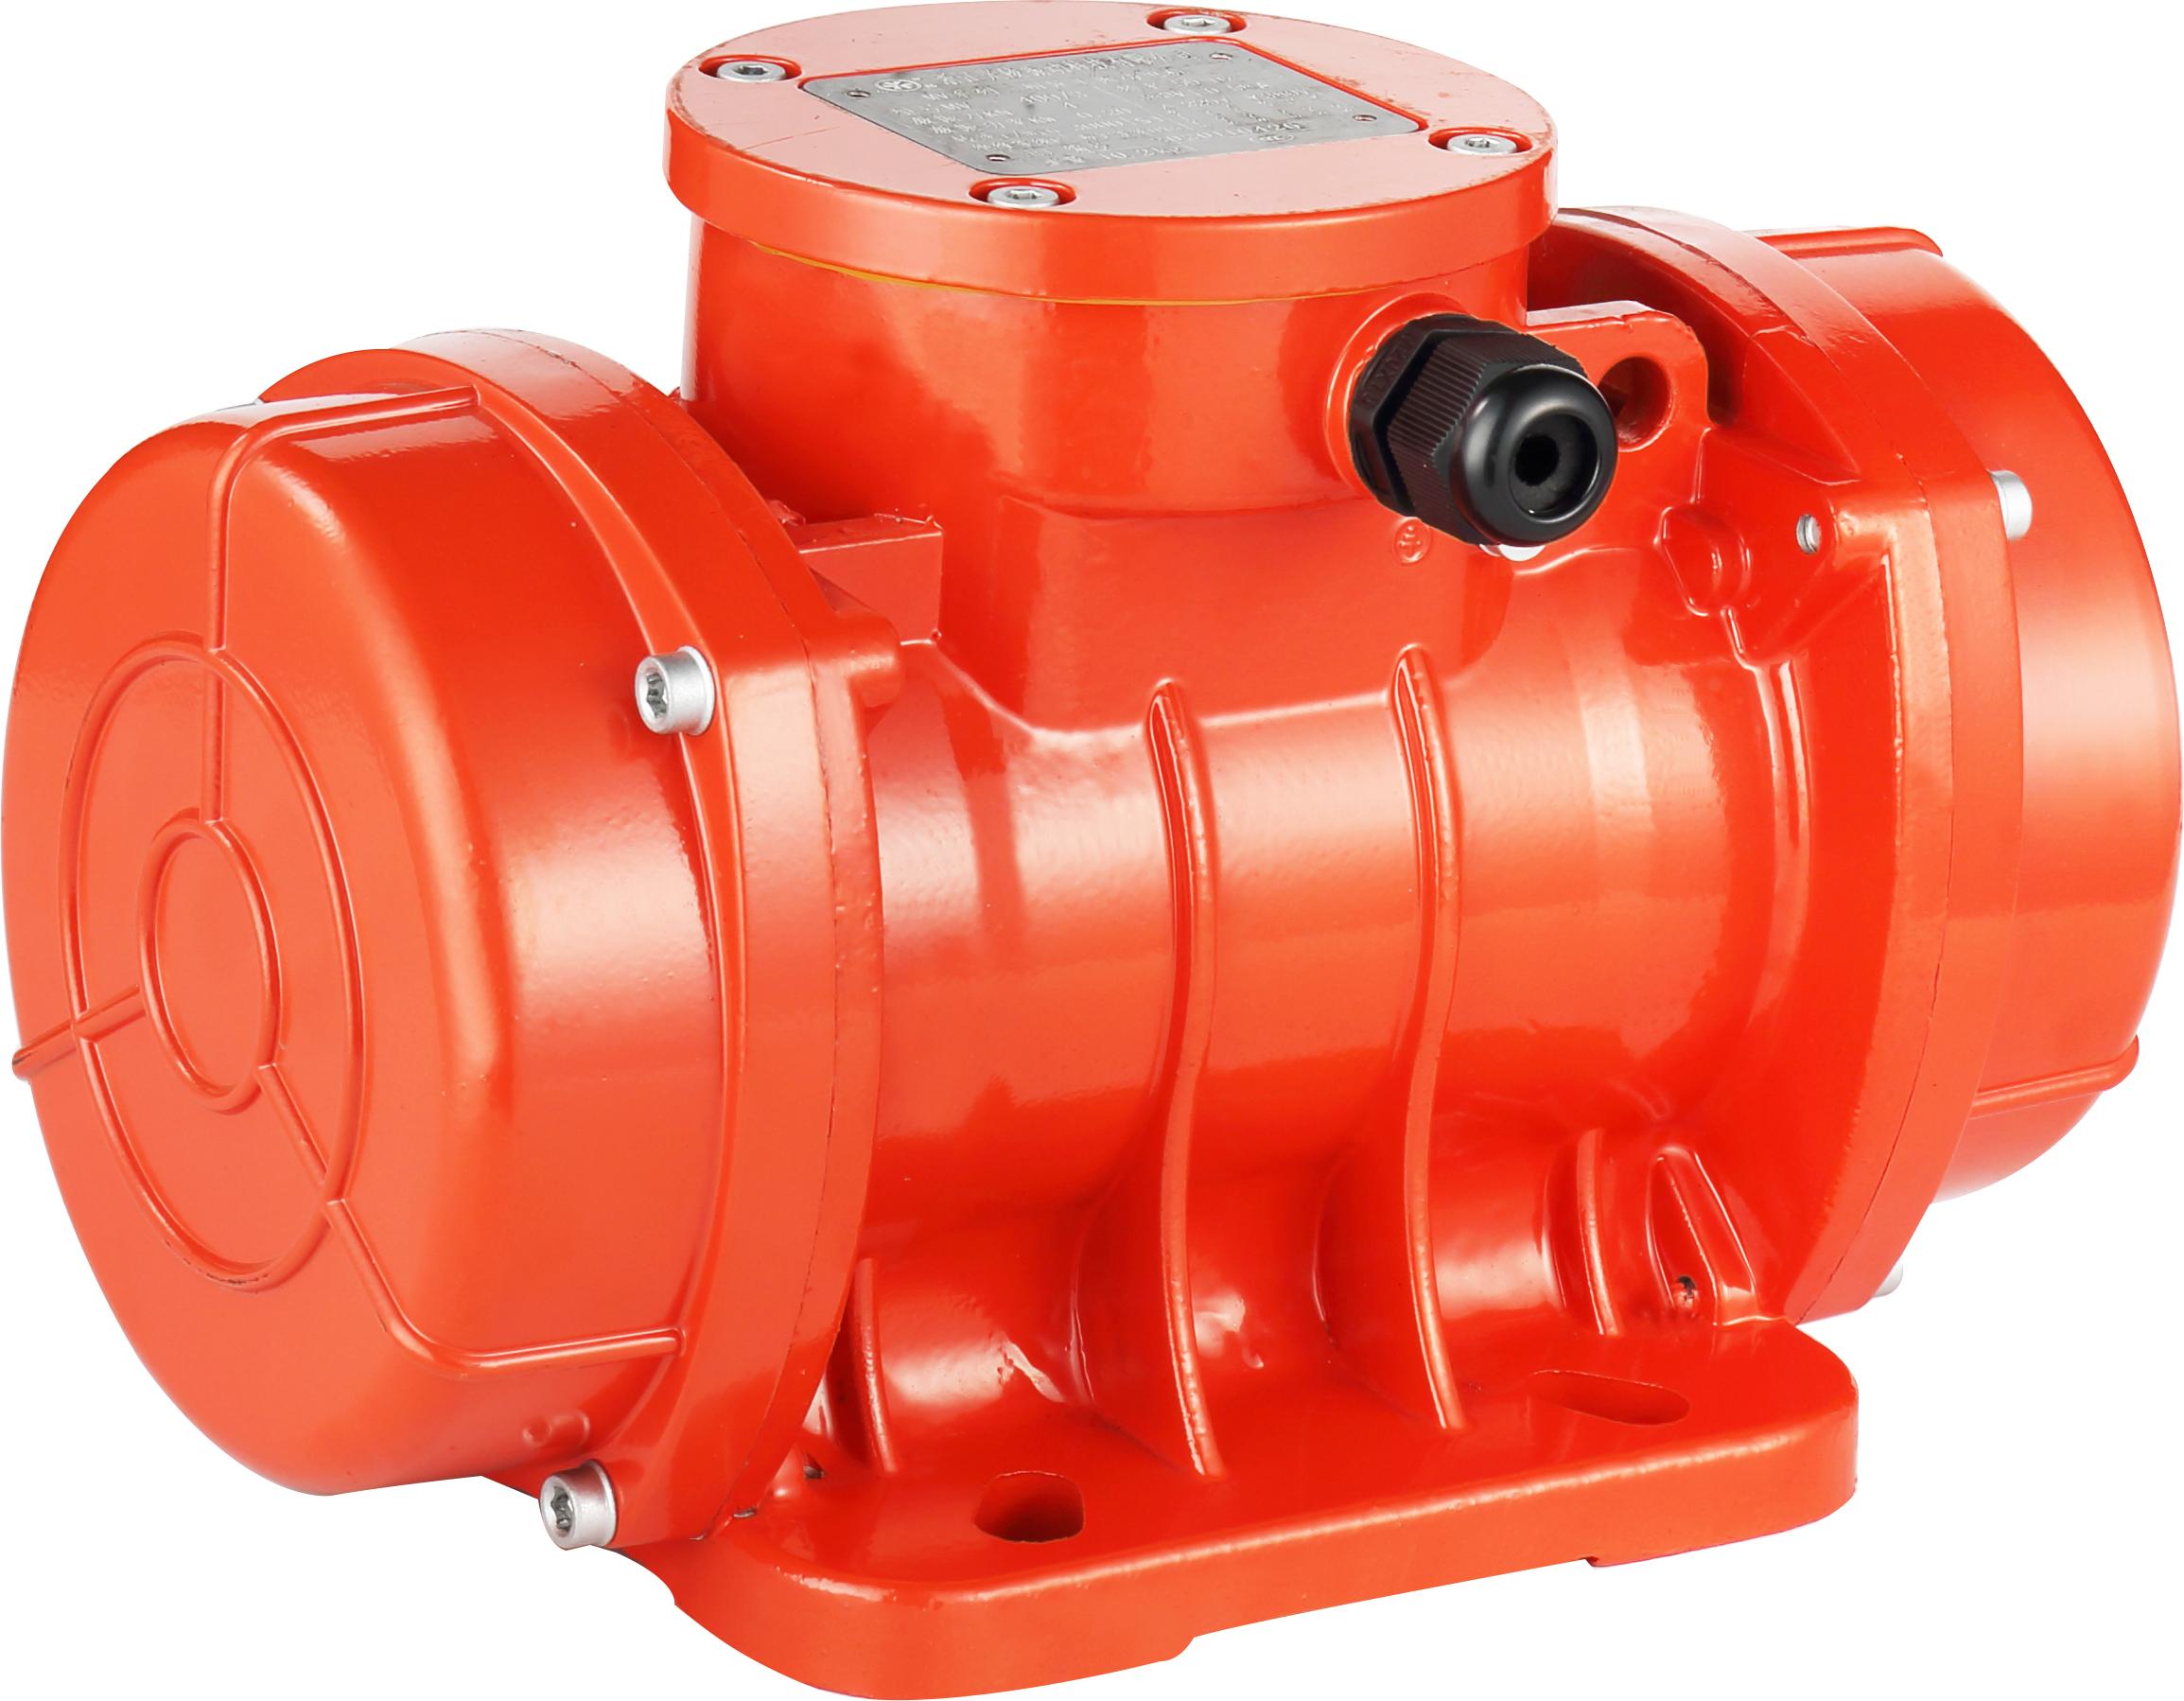
Vibration patterns aren't just a technical detail—they directly shape how people feel a product in their hands. A subtle, steady pulse on a fitness tracker during a workout can signal a heart-rate zone shift without forcing the user to glance at a screen. In contrast, a sharp, irregular buzz on a warehouse scanner might indicate a scanning error that demands immediate attention. The key is to map the pattern's rhythm, intensity, and duration to the context where the device will actually be used.
Consider automotive interfaces. When a driver drifts out of a lane, the steering wheel might emit a series of short, directional vibrations on the side that needs correction—something like a gentle nudge rather than an alarm. But for a medical alert device worn by an elderly person, the vibration must be strong enough to be felt through clothing and distinct enough to be recognized as urgent, perhaps a double-pulse followed by a longer sustained buzz. Testing these patterns in real-world noise, motion, and user states is what separates a gimmick from a useful signal.
The real challenge lies in consistency across different hardware and use-case environments. A pattern that feels soft and pleasant in a quiet office can be completely lost inside a construction helmet or a gloved hand on a motorcycle. Designers often build a small library of vibration primitives—clicks, thuds, sweeps—and then tune them per device category. User studies in the actual target setting, not just in a lab, reveal whether a pattern is learned quickly, remembered over time, and triggers the right emotional response without becoming annoying.
Customization Levers: From Eccentric Masses to Coil Design
Tuning a device’s physical feedback often begins with an off-center weight—the eccentric mass. Shave a few grams off one side or nudge the offset, and the whole vibration signature shifts from a lazy thump to an angry rattle. It’s a wonderfully simple knob, but it mainly controls how much chaos you’re throwing around.
Coil design flips the approach. Instead of brute force, you start playing with wire gauge, turn count, and the shape of the magnetic gap. Those choices determine how quickly force builds, how the stroke feels under your finger, and whether the response lands as a soft tick or a firm push. The coil doesn’t need to spin anything; it just pulls and releases with a precision that eccentric masses can’t touch.
In practice, the best results come from using both levers at once. The eccentric mass supplies the broad energy floor—enough movement to feel substantial—while the coil adds the fine detail: the sharp onset, the gentle release, the subtle double-click. That blend is what turns a generic buzz into something that feels deliberate.
Power, Control, and Longevity: Engineering the Drive Circuit
The drive circuit rarely gets the attention it deserves until a power stage fails at full load. In practice, its real job is to deliver charge with enough force and timing to move a power switch through the linear region quickly, without letting parasitic inductance turn that speed into voltage overshoot. A gate resistor that is too small may shave a few nanoseconds off the turn-on edge, but it can also invite ringing on the drain or collector and push the device outside its safe operating area. The more useful design target is often not raw speed, but a controlled dV/dt and dI/dt that keeps both the switch and the surrounding layout comfortable.
Control in a drive circuit is less about the logic that says 'turn on' and more about what happens in the gaps between turn-on and turn-off. For a half-bridge, the dead time needs to be long enough to prevent shoot-through but short enough not to degrade efficiency or cause body-diode conduction losses. Propagation delay mismatch among channels becomes a real constraint once switching frequencies climb—50 nanoseconds of skew can translate into measurable heat. Adding desaturation detection or overcurrent blanking often means accepting a few extra components, but those decisions are what separate a drive stage that merely switches from one that survives a shorted motor phase.
Longevity is rarely decided by the power switch alone. The drive circuit is exposed to the same thermal cycles, and its small capacitors, optocouplers or digital isolators, and solder joints age in ways that a datasheet MTBF does not capture well. A practical approach is to derate the bootstrap diode and capacitor for worst-case high-side duty, route the gate loop for low inductance, and add a soft-turn-off path so that fault conditions do not hammer the device with repeated hard stresses. If the drive stage is designed to stay calm during the faults it will actually see, the whole converter tends to last much longer.
Prototyping Pitfalls and How to Sidestep Them
When you treat a prototype like a miniature version of the final product, you’re already drifting toward trouble. Prototypes exist to answer questions, not to impress stakeholders with pixel-perfect polish. The moment you start obsessing over button gradients or exact spacing, you burn hours that should have gone into testing the core flow. A better move is to decide upfront what uncertainty you’re trying to resolve—navigation, task completion, visual hierarchy—and then build only as much fidelity as that question demands. Cardboard and sticky notes can often teach you more in an afternoon than a high-fidelity mockup can in a week.
Another common trap is falling in love with your first idea and using the prototype to prove it works, rather than to find out where it breaks. If every user test feels like a demo where you guide people away from confusing areas, you’re not prototyping; you’re performing. Force yourself to hand the prototype to someone with no context and watch them struggle. Those awkward silences and wrong taps are the real deliverable. Keep the prototype rough enough that you won’t hesitate to throw it away. When it’s precious, you protect it; when it’s disposable, you learn from it.
Don’t forget the handoff, either. A prototype that dies at the end of a design sprint leaves developers guessing about interaction details, edge cases, and accessibility. Sidestep this by documenting decisions as you go, not in a separate phase. Attach short notes to the screens, record a two-minute walkthrough video, or even sit with the dev team for a live click-through. The goal is to capture the why behind each state so the next person doesn’t have to reverse-engineer your intentions from a pile of static artboards.
When Off-the-Shelf Won't Cut It: Justifying a Custom Build
There’s a certain appeal in reaching for a ready-made solution. It promises speed, lower upfront cost, and a path worn smooth by others. But then reality sets in: the workflow doesn’t quite fit, the integrations feel forced, and you’re spending more time wrestling with limitations than actually moving forward. When the gap between what the tool does and what your team needs becomes a daily source of friction, it’s worth asking whether the compromise is still saving you anything.
A custom build starts making sense when your requirements stop being generic. Maybe you need to enforce a specific approval chain, handle unusual data structures, or connect internal systems that no off-the-shelf product was ever designed to touch. At that point, bending a prebuilt platform into shape often costs more in workarounds, plugins, and lost momentum than building something tailored from the start. The justification isn’t about wanting something shiny or unique—it’s about removing the constant drag of adapting your process to someone else’s assumptions.
The strongest case for custom development comes down to ownership. When the tool is yours, you control the roadmap, the performance, and the way it evolves alongside your business. You’re not waiting on a vendor’s release cycle or dreading a pricing change that breaks your budget. If your team has already proven it can ship reliable code and you’re facing a problem that’s core to your operation rather than peripheral, the real question isn’t whether you can afford to build custom—it’s whether you can afford not to.
FAQ
Start with the vibration amplitude or acceleration you need at the motor's mounting point, then work backward to force and frequency. Voltage range and current draw limits from your power supply are equally important, because they set hard boundaries on what the motor can deliver. Don't forget the physical envelope—custom motors often exist because an off-the-shelf unit is a few millimeters too tall or too wide.
If your device has an unusual shape, a very low power budget, or a need for a specific vibration profile that standard eccentric rotating mass or linear resonant actuator motors can't hit, that's a clear signal. Also look at mounting: when you can't add a bracket or change the PCB layout, a custom housing or shaft can save the design without forcing compromises elsewhere.
ERM motors spin an off-center weight and produce vibration across a wide frequency range, but they're slower to start and stop. LRAs vibrate at a single resonant frequency and respond much faster, which makes them great for precise haptic feedback. For a custom project, ERMs are often cheaper and simpler to drive, while LRAs require a more controlled driver but deliver crisper pulses.
Yes, the eccentric mass and its distance from the shaft center determine the force output. A heavier mass or a larger offset increases the amplitude, but it also increases current draw and bearing wear. The trick is to rebalance the mass against the motor's torque capability and your expected duty cycle—otherwise you'll overheat the motor or shorten its life.
Voltage directly sets the motor's speed and, with a fixed eccentric mass, the vibration frequency and amplitude. Running a motor above its rated voltage gives a stronger shake but risks overheating and insulation damage. Below rated voltage, you'll see reduced force and possibly stalling. Custom windings can be specified to match a non-standard voltage rail without losing efficiency.
The mounting must keep the motor rigidly attached to the surface that needs to vibrate, but also tolerate the constant cyclic stress. Soft adhesives or cantilevered brackets can dampen the vibration or crack over time. Use screws or a press-fit into a stiff pocket, and if possible, position the motor so the vibration acts along the axis your product can handle best.
At minimum, run life tests at the expected vibration amplitude and duty cycle to catch bearing wear or coil overheating. Sweep the voltage and temperature ranges your device will see in the field, and measure the actual acceleration with an accelerometer mounted on the final assembly. Also test start-stop behavior under low battery conditions if the product is portable.
One big mistake is focusing only on the motor's datasheet specs and ignoring how the housing and mounting change the resonant frequency. Another is asking for the highest force possible without considering that higher force usually means more audible noise and shorter lifespan. Also, don't assume a motor that works on a lab bench will survive being dropped or vibrated for thousands of hours in a real device.
Conclusion
Most vibration motor selection guides drown you in datasheet numbers, but only a handful actually dictate whether your design works: rated voltage, start voltage, vibration amplitude, and the shape of the acceleration curve. A motor that draws 60mA at 3V may still fail if it needs 2.2V just to break static friction—especially in battery-powered wearables. Matching vibration patterns matters more than raw force; a short 20ms buzz for a keypress feels completely different from a 500ms rumble for an alarm, and the same motor can deliver both if you tune the drive signal. Real-world use cases split into haptics (sharp, quiet, low latency), alerting (longer, attention-grabbing), and industrial material handling (sustained, high amplitude, tolerant of dust). Understanding this keeps you from overspecifying a coin motor for a smartwatch or underspecifying an eccentric rotating mass for a vibrating hopper.
Customization goes beyond swapping the eccentric mass—coil winding, bearing preload, shaft length, and even the housing alloy change how heat dissipates and how long the motor survives start-stop cycles. Drive circuit design is where many prototypes stumble: driving an inductive load with a blunt square wave at the wrong PWM frequency can cause audible coil whine or overheat the brushes. Prototyping pitfalls include resonant frequency shifts once the motor is mounted in a plastic enclosure, adhesives that soften under continuous vibration, and ignoring back-EMF spikes that reset microcontrollers. When none of the catalog parts fit your size budget, mounting geometry, noise requirement, or expected cycle life, a custom build stops being a luxury and becomes the only way to keep the product roadmap intact. The real justification is not “we need more power” but a measurable gap in the off-the-shelf envelope.
Contact Us
Contact Person: ZHUO
Email: [email protected]
Tel/WhatsApp: 86-576-86320988
Website: https://www.cnguangling.com